Feb 17 2024
A very, very long time ago, I was introduced to Gerrit. To be honest,
I hated it. However, lately I have become interested in divesting from
git and GitHub, and so have decided to re-visit various “forges” to see what’s
out there. The “why” for this will come later, and I’m not leaving them just yet,
just, you know, doing some exploring.
Anyway, in order to play around with Gerrit, I need a server somewhere. This website runs entirely on Vercel at the moment, so I don’t happen to have a more traditional server lying around to give Gerrit a shot. But as it just so happens, I work at Oxide, and so have access to a rack that I can play around with. So I thought it would be fun to share what that looks like, given that people are interested in what we do, but don’t actually have access to one of our machines.
If you’d like to poke at the console yourself, there’s a live demo! Quoting the README:
At https://oxide-console-preview.vercel.app the console is deployed as a static site with a mock API running in a Service Worker. You can create mock resources and they will persist across client-side navigations, but they exist only in the browser: nobody else can see them and the mock “DB” is reset on pageload. Request and response bodies in the mock API match the Oxide API’s OpenAPI spec, but behavior is only mocked in as much detail as is required for development and testing of the console and is not fully representative of the real API.
I happen to think this is extremely cool. If you want to, you could stop reading this post and go play with that instead. It’s also, like the rest of Oxide’s software stack, fully open source!
Before we begin, I would like to say that I am going to be doing this “manually” via the console and a web browser rather than via the CLI. I am doing this for two reasons:
- I think the console is pretty and I would like to show it off. The folks who work on it do a fantastic job.
- I don’t have many images on this blog and so want to write a post with some images and this will look nicer than screenshots of a terminal.
To be clear, I imagine a lot of real production usage of the Oxide rack will be driven by the API, either via our CLI tools or terraform or whatever. Heck, the console is built on those APIs, so on some level, that’s the only way to do it. My point is, don’t think of this as being the only workflow to interact with Oxide. Maybe if people like this post I’ll make some more covering the CLI driven workflow. Let me know.
After you SSO into the console, you’re put on the Projects page:
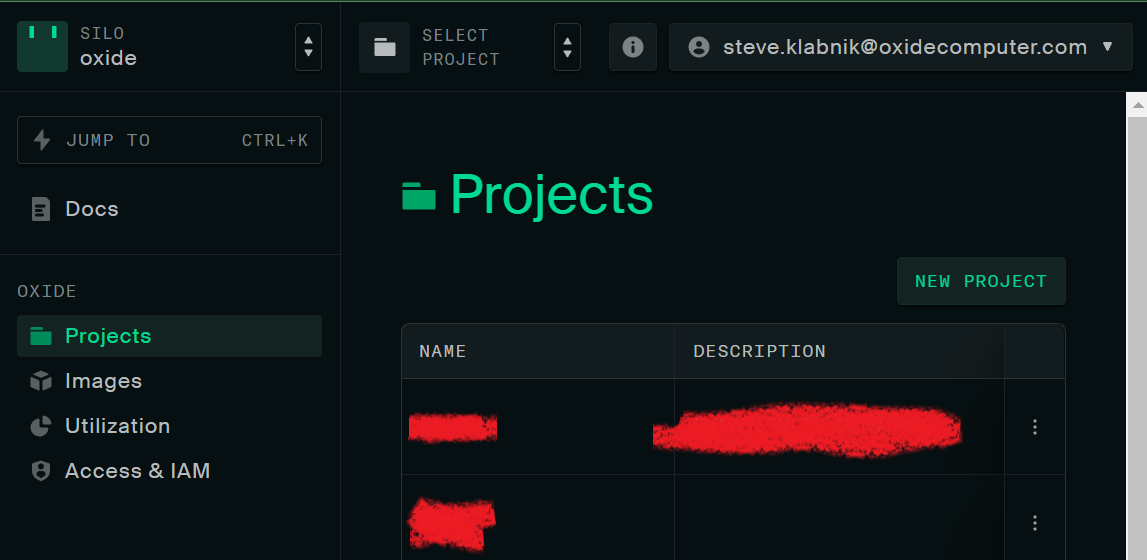
We’re in a “silo” named Oxide. A silo is a grouping of users, projects, and resources that are isolated from one another. But we don’t care about that: we want to make a new project. As you can see, I have censored my co-workers’ projects, as I didn’t tell anyone I was making this post, and even though the description here is hilarious, it wouldn’t be right to share without asking, and I’m already like ten layers deep in this yak shave.
Let’s make a new project:
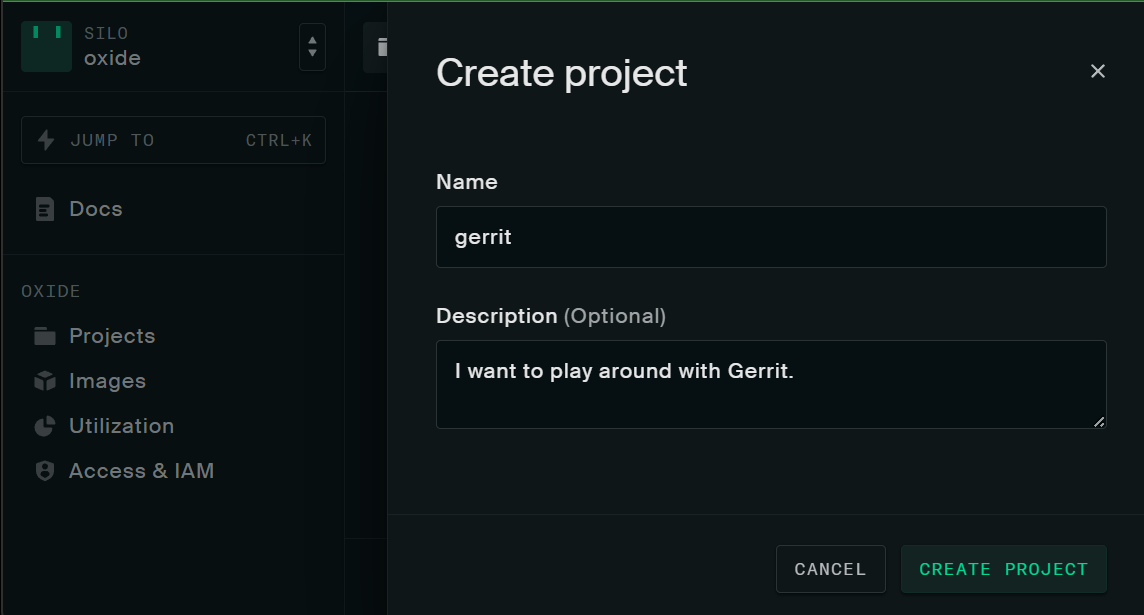
It’s just that easy. After we push the button, we’re put on the instances page:
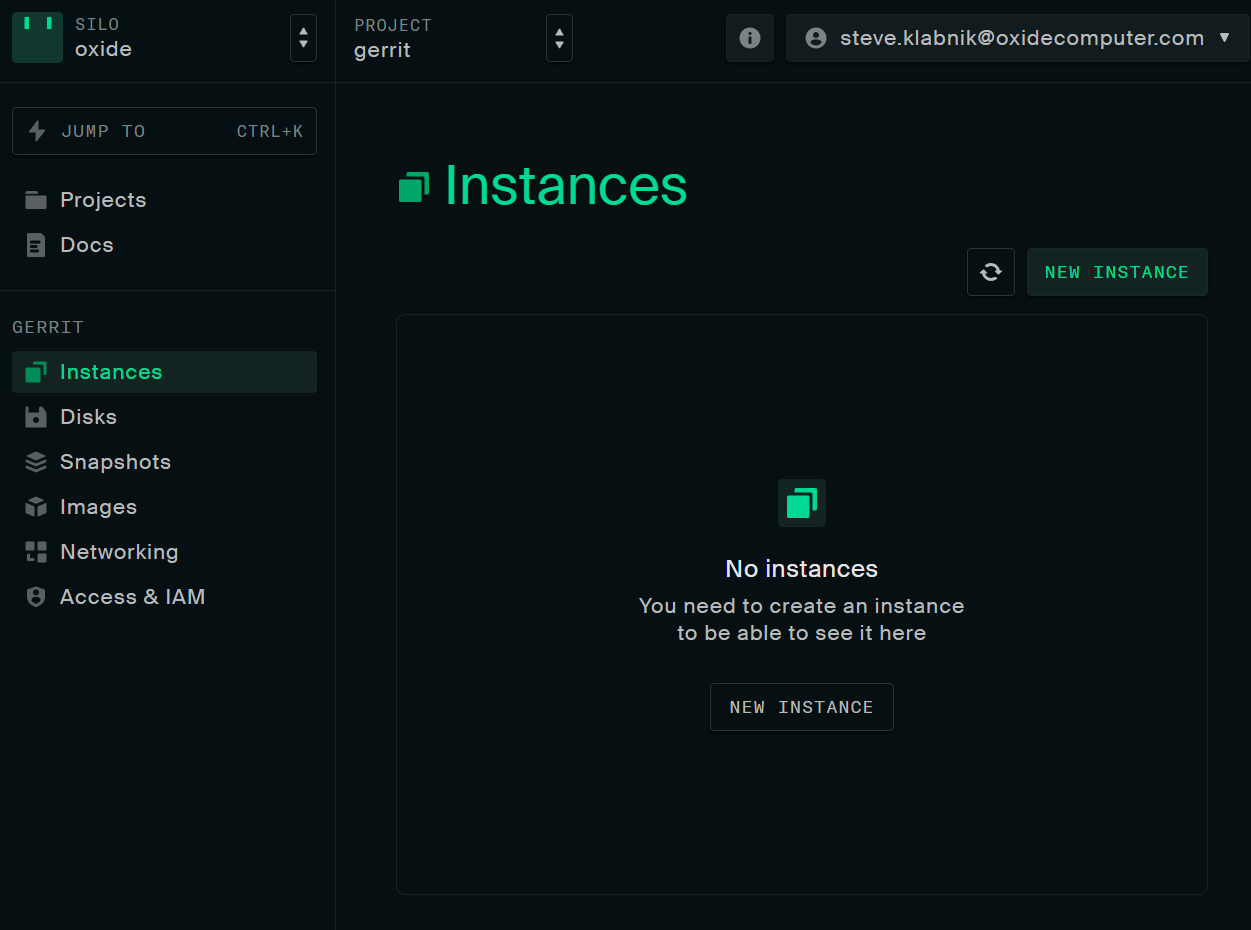
There’s a nice little toast in the bottom left that I didn’t manage to get a screenshot of because I was re-sizing my window too. Anyway, now that we have our project, we can add one or more instances to it. Instances are virtual machines, and so setting one up looks like you might expect. You can give it a name and description, but for this screenshot I’m only showing off one part of this page because this is already a ton of screenshots:
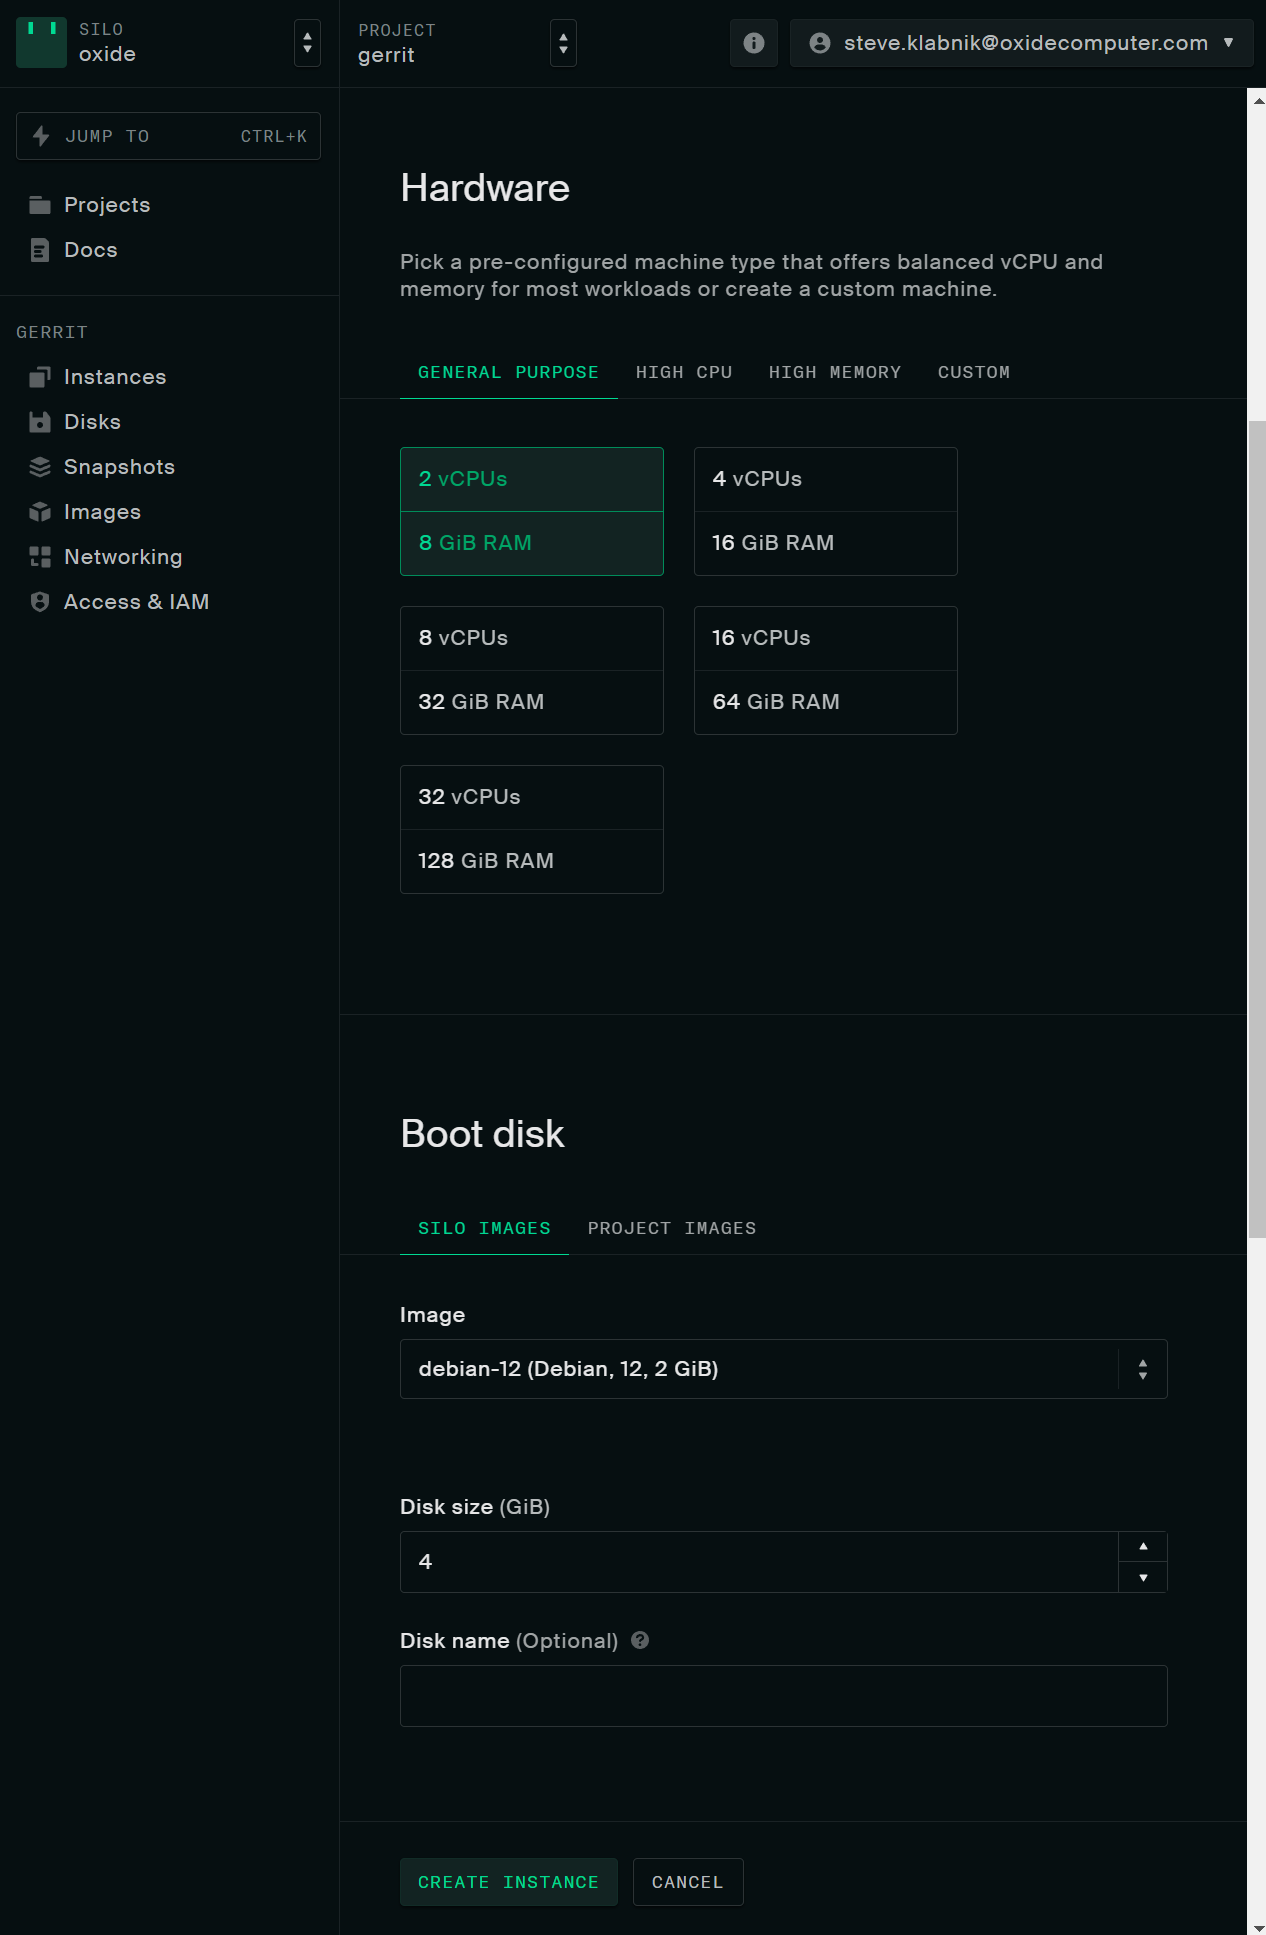
We can size instances however we’d like. Even though Gerrit is a Java application these days, I’m going to keep the instance small, because it’s just for me and performance isn’t a huge deal. Yes, I have made massive instances for fun in the past.
We’re using a Debian image that’s been provided by this silo, because I am lazy and that’s fine. Is four gigabytes of disk enough? I don’t know, let’s find out.
A few seconds later, our instance is up and running:
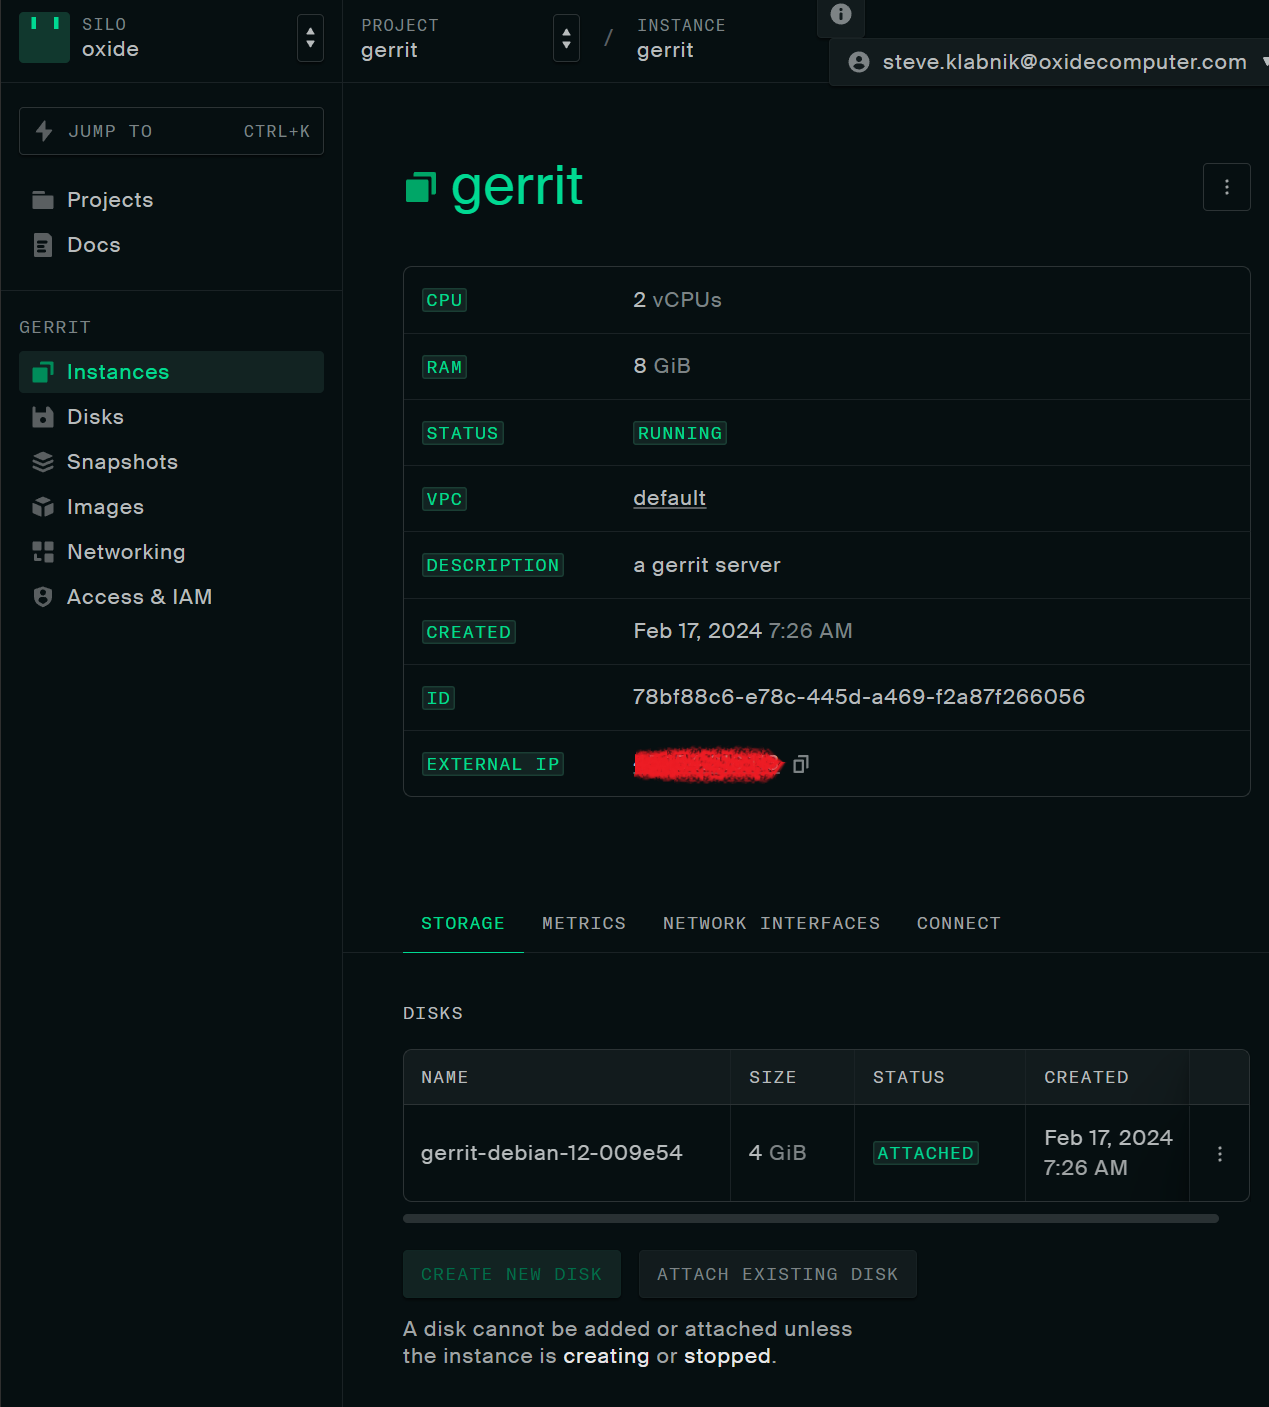
I am obscuring the external IP because, well, no reason to give that out.
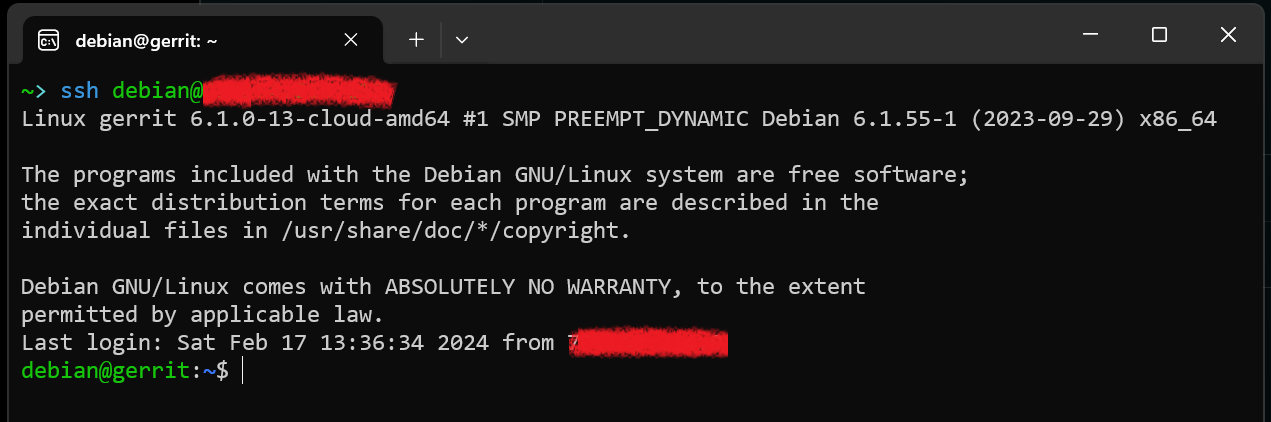
Anyway, that’s it! We can ssh in:
… how, you may ask? Well, I didn’t show off the entire “Create instance” page:
I have set up my ssh keys in my account previously, and so by default, because
this image uses cloud-init to configure itself, my ssh keys are already
injected into the image. Furthermore, I left it on the default VPC, which
is currently configured with a firewall rule that allows for incoming ssh
connections. All of this is of course absolutely customizable, but given what
this rack is being used for, these defaults make sense for us, so I didn’t have
to actually do much setup at all.
That being said, I do need to open port 8080 so that I can poke at Gerrit in a web browser. If I go into the VPC configuration, I can add a new firewall rule:
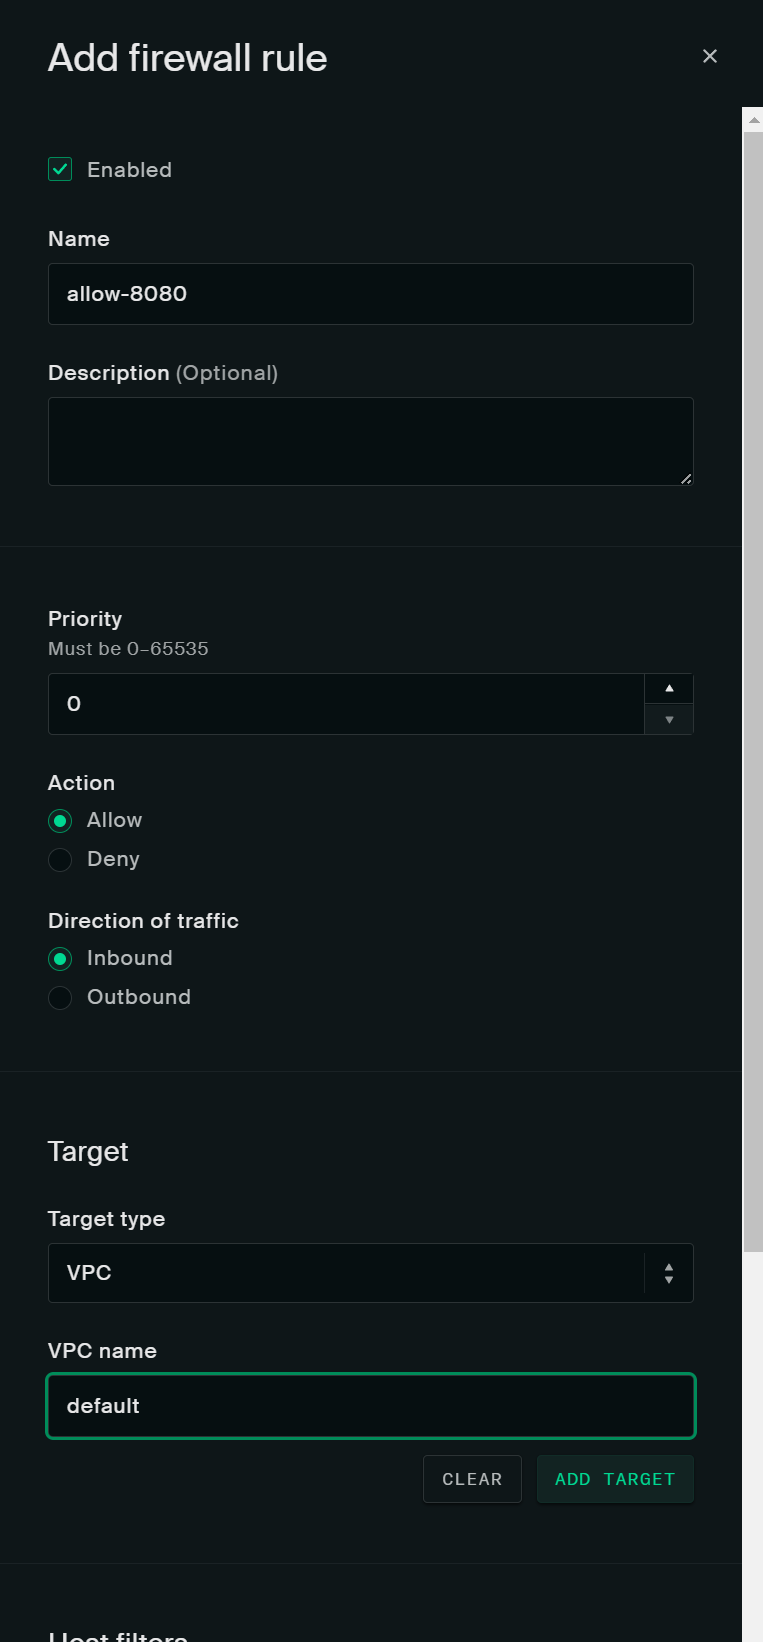
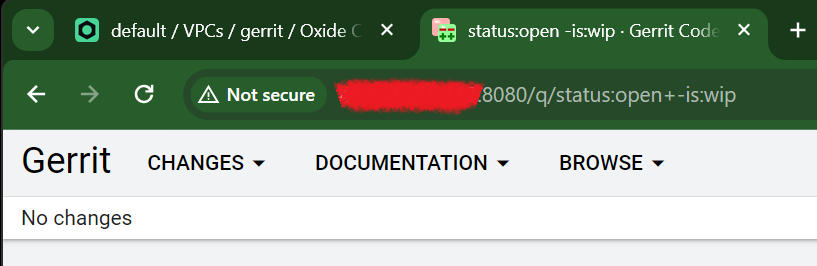
Further down, I can pick port 8080, and that I want to allow TCP. After setting up Gerrit, we have success!
And that’s it! It’s just that easy. There’s of course a ton of stuff I didn’t talk about, but easy things should be easy, and for basic usage, it’s just that easy.